Create a website using a static site generator and Codeberg pages
Table of contents
Hi! This is a start-to-finish tutorial for how you can create and run your own website on Codeberg pages, using a static site generator of your choice. Basic knowledge of Git and comfortability with the command line is assumed.
What's a static site generator?
I'm glad you asked! Your web browser shows you web pages that are made of HTML, CSS and JavaScript. You can write code in these languages by hand, but this is rather cumbersome if you primarily want to use your website to publish pieces of text following the same format. When writing a blog, for example, you want to focus on the text rather than the layout of your page, because the latter stays the same across all posts.
Static site generators (SSGs) allow you to do just that: create a reusable layout and theme for your website (or use a pre-made one) and focus on your content (which SSGs usually let you create in a more human-friendly format such as Markdown!). SSGs take your content and turn it into output that browsers can understand and display.
At the end of this tutorial, you'll have a website that
- is connected to your Codeberg repo, which in turn contains the sources for your static site generator.
- gets updated every time you push a change to the main branch of your Codeberg repo.
Before you follow along, you should:
- create a Codeberg account
- pick a static site generator; here's a list
- points to consider when making a choice:
- ways to extend/customise it using code (programming language)
- size of the community
- built-in features
- number of existing, pre-made themes/templates
- if you have no preference, just follow this tutorial's example and use eleventy!
- points to consider when making a choice:
Tutorial
Whenever commands are shown that you're supposed to type:
- type them in Git Bash if you're on Windows (it comes with the Git installation)
- type them in a Bash or ZSH shell if you're on Mac OS, Linux or similar
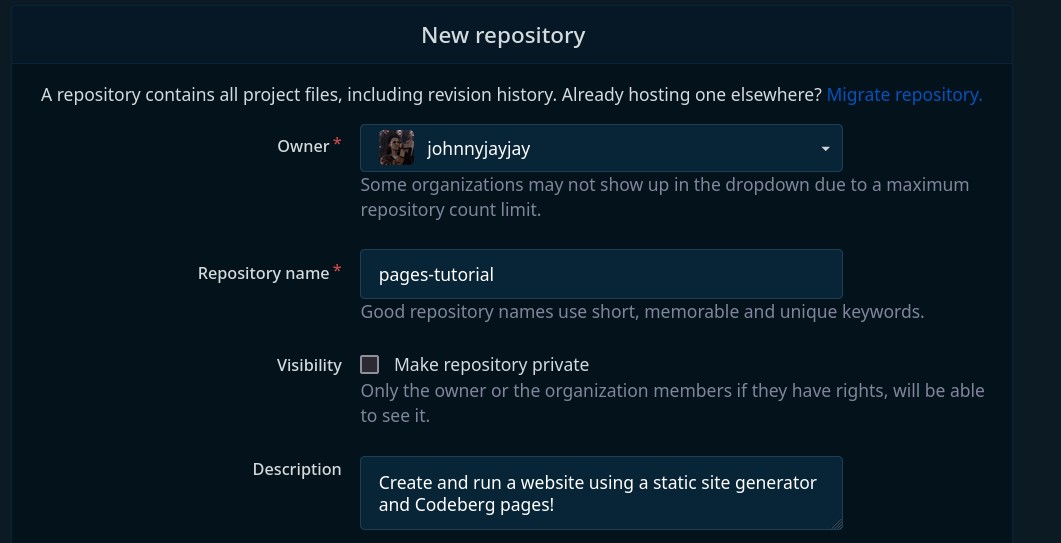
1. Create a Codeberg repository
Create a new repository named whatever you like. Apart from the name, you don't need to set any of the other options. Important: the repository must be kept public!
You should now see your new, empty repo:
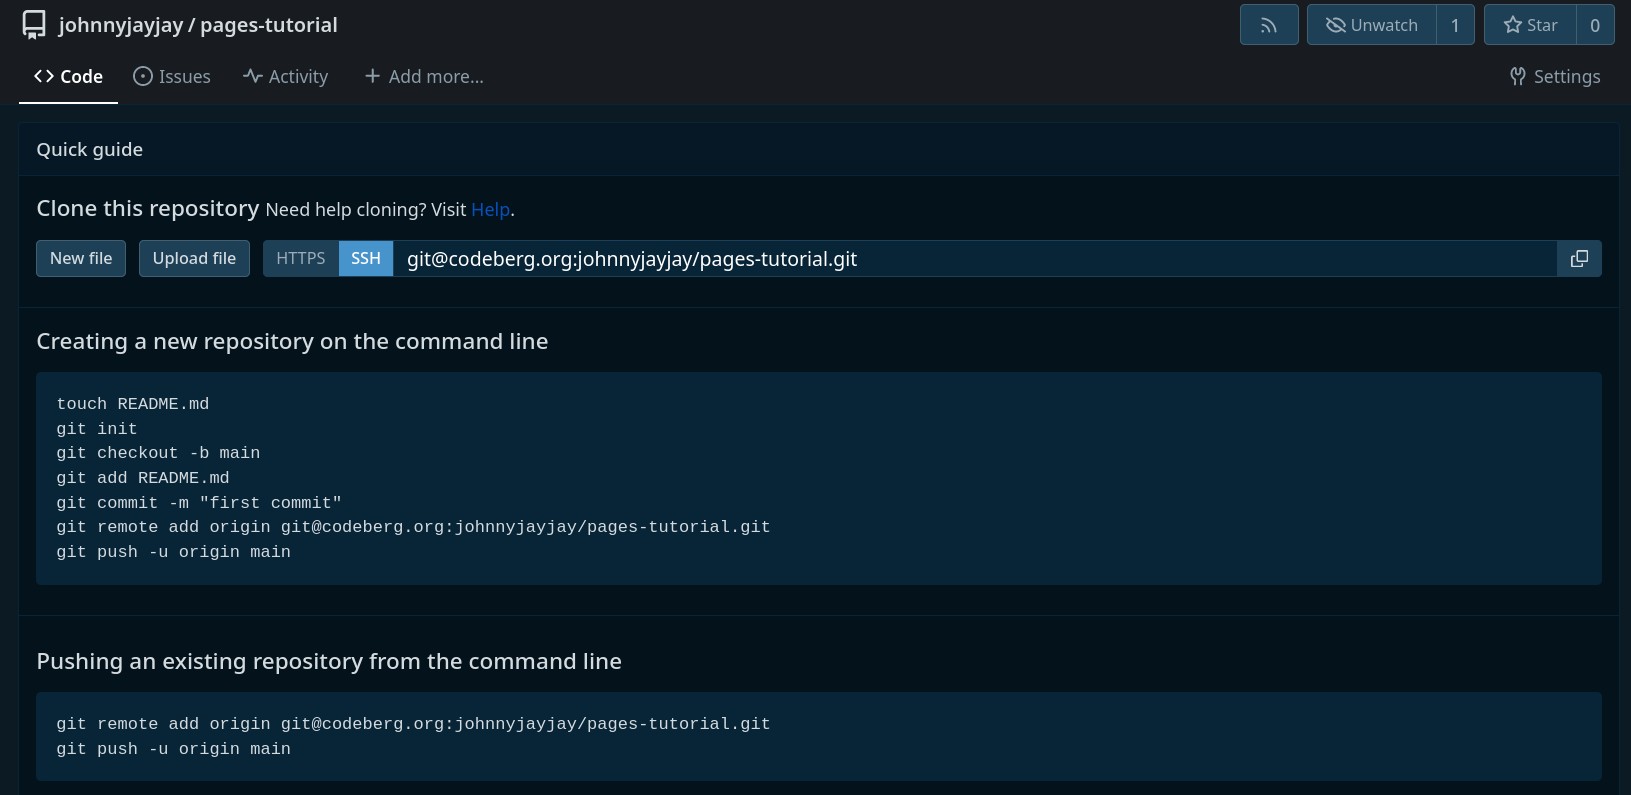
Now, clone this repository to your computer and cd into it in your shell:
git clone https://codeberg.org/$YOUR_USERNAME/$YOUR_PROJECT_NAME.git
cd $YOUR_PROJECT_NAME
If you prefer, you can of course clone the repo via SSH instead of HTTPS.
2. Set up your static site generator
It's time to initialise the repository with your static site generator. For this tutorial I'm using eleventy, so I'm following its installation steps:
npm init -y
npm install @11ty/eleventy --save-dev
At this point, it's a good idea to try running the site generation process to see if it works. In Eleventy's case, you can do this by simply creating any Markdown file at the root of the repository and then running a command:
echo '# Hello, World!' > index.md
npx @11ty/eleventy
If you use another static site generator, these steps will most likely be different: most have a special directory where website content must be put, and of course a different command to generate the result.
In any case, take note of where that result is put. For Eleventy, it's a directory called _site by default, which – after running the commands above – contains an index.html file. Now let's create the first commit:
echo 'node_modules\n_site' > .gitignore
git add --all
git commit --message 'Initial commit'
Note that I've added the output directory (and other unwanted files) to the repository's .gitignore before committing. If you use a different SSG, you'll probably want to add different .gitignore entries (you don't have to do that using echo, of course).
3. Configure deployment to Codeberg pages
You decide your website's location on Codeberg pages. It can be one of two things:
$YOUR_USERNAME.codeberg.page/$YOUR_PROJECT_NAME$YOUR_USERNAME.codeberg.page
Deploying to these locations is similar. The main difference is that for the first location, you use the same repo you just created, while for the other location you need to create another, special repo named pages in your account.
If you plan to use a custom domain for your website later, this choice doesn't really matter; you can set that up either way. Otherwise, pick your poison!
But first, create the following file in your repository:
deploy-pages.sh (download)
#!/usr/bin/env bash

# This is a script to deploy the current state of the main branch to codeberg pages.
# The recommended use is to register this as a pre-push hook like so:
# $ cp deploy-pages.sh .git/hooks/pre-push
#
# Once registered, whenever a push is performed on the `main` branch, this script does the following:
# 1. build the site from the state of HEAD
# 2. commit and push the resulting output to branch $remote_branch on remote $remote
#    (these two variables should be set below according to where the pages should land, e.g. remote_branch=pages and remote=origin)
#
# You can also run this script by itself to deploy the pages.
#
# SPDX-License-Identifier: MIT
# SPDX-FileCopyrightText: 2024 JohnnyJayJay

# Bash strict mode (http://redsymbol.net/articles/unofficial-bash-strict-mode/)
set -euo pipefail
IFS=$'\n\t'

# FIXME set these variables
ssg_build_cmd=""
ssg_output_dir=""
remote=""
remote_branch=""

current_branch=$(git symbolic-ref --short HEAD)
# If current branch is main or no argument was passed to the script (this is the case when /not/ run by git as a hook)
if [[ "$current_branch" = "main" || -z "${1:-}" ]] ; then
    echo "Push to main detected; building site"

    set -x
    # The purpose of temporarily creating this file is forcing git to
    # actually perform a stash – it can fail silently otherwise
    touch .stash-trigger
    # Exclude build output from stash
    git stash push --quiet --include-untracked -- ":!:$ssg_output_dir"
    ssg_fail=0
    # if ssg_build_cmd exits with a non-0 exit code
    if ! eval "$ssg_build_cmd" ; then
        ssg_fail=1
    fi

    git stash pop --quiet
    rm .stash-trigger

    if (( "$ssg_fail" )) ; then
        set +x
        echo "Static site generation failed; aborting push."
        echo "To push without deploying pages, run again with --no-verify"
        exit 1
    fi

    git worktree add --quiet pages

    if (
        # Unsetting git variables from surrounding context
        unset "$(git rev-parse --local-env-vars)"
        cd pages
        git fetch "$remote" "$remote_branch"
        git reset --soft "$remote/$remote_branch"
        # get any changes from the ssg output to the pages worktree
        rsync --archive --no-perms --chmod=ugo=rwX --delete --exclude '.git' "../$ssg_output_dir/" . || return
        git add --all || return
        # don't fail if there's nothing to commit
        git commit --quiet --message 'page deployment' || true
        git push "$remote" "pages:$remote_branch" || return
    ) ; then
        set +x; echo "Pages deployment successful"; set -x
    fi

    git worktree remove --force pages
fi
This may look like a lot, but don't worry! It's just an elaborate and (mostly) failsafe way to do the following:
- Generate your site from the current state of the branch
- "current state" means: uncommitted changes and untracked files are not included
- Commit the static site generator output to a branch
pages- that branch is temporarily checked out in a subdirectory using git worktree
- Push this local
pagesbranch to a destination of your choice, i.e. in practice:- the remote
pagesbranch in the same repo (origin): this will put your site on$YOUR_USERNAME.codeberg.page/$YOUR_PROJECT_NAME - the remote
mainbranch in yourpagesrepo: this will put your site on$YOUR_USERNAME.codeberg.page
- the remote
A few variables at the top need to be configured in that script. First, you need to tell the script how to use your static site generator by setting ssg_build_command and ssg_output_dir. For this page's setup, it looks like this:
ssg_build_cmd="npx @11ty/eleventy --pathprefix=pages-tutorial"
ssg_output_dir="_site"
And then, configuration for...
deployment to $YOUR_USERNAME.codeberg.page/$YOUR_PROJECT_NAME
Set these variables in the script:
remote="origin"
remote_branch="pages"
deployment to $YOUR_USERNAME.codeberg.page
Add your pages repo (that you should have created by now) as a remote:
git remote add pages https://codeberg.org/$YOUR_USERNAME/pages.gitAnd then set these variables in the script:
remote="pages"
remote_branch="main"
Finally, the local branch pages is still missing and must be created before the script works:
git worktree add --orphan pages
git --work-tree pages commit --allow-empty --message "Initial commit"
git worktree remove pages
Now, give it a test run to see if it works!
chmod +x deploy-pages.sh
./deploy-pages.sh
Hopefully, you see a Pages deployment successful at the end. If not, please open an issue and share the output you got!
To deploy the site every time you push a change to main, install the script as a pre-push git hook:
cp deploy-pages.sh .git/hooks/pre-push4. (Optional) set up a custom domain
Having your own domain is great. It allows you to give your site a more personal address on the web, and it allows you to move your hosting somewhere else if, at some point in the future, you don't want to use Codeberg pages anymore. If you already have one, you can point it to your Codeberg page by adding an additional file and setting DNS some record(s).
First, add a .domains file to your static site generator's output. The way to do this depends on the SSG you've chosen; usually, you either need to add it as a "special file to include" in some config or put the file in a specific directory. In Eleventy's case, static files can be included in the output using a "passthrough copy":
// file: .eleventy.js
module.exports = function(eleventyConfig) {
  eleventyConfig.addPassthroughCopy(".domains");
};
Then, for DNS (pointing your domain to Codeberg pages), you have several options. See Codeberg's own docs to learn which records to set and how.
Tips and Tricks
Make the automatic deployment more seamless
Remembering SSH keys
Usually I interact with remote git repos using SSH. My SSH keys are on a Yubikey, which means that I have to enter a pin and touch it every time I want to push or pull something. And usually, this doesn't bother me, but for the pre-push hook it's annoying because I have do a manual confirmation like 4 times. With regular SSH keys (that aren't on a physical security key), you can get around this by adding your key to the SSH agent:
# Or whatever your key file is called
ssh-add ~/.ssh/id_ed25519
Remembering passwords
If you followed the tutorial and used HTTPS instead of SSH for Git remote URLs, you might be a similarly annoyed if you have to enter your password every time. There are two steps I'd recommend (that I've also taken):
- Don't use your password for authentication; create an access token for your account that is allowed to read and write public repositories instead. It can be used like a password, but isn't your actual one.
- To make Git remember your username and access token, configure a credential helper. There is a special one for each operating system.
Skipping commit signing
I've configured git to always sign my commits. This is not a bad default, but it (again) means the deployment script can't run on its own, I have to confirm the signature. But for the pages commits, a digital signature doesn't really do much. If you're in the same boat, you can disable commit signing in the line where the deployment commit is made like so:
git commit --no-gpg-sign --quiet --message 'page deployment' || trueFull example
You're looking at one! The code for this tutorial follows itself. Isn't that neat?
Contribute
Do you think something about this tutorial needs improving? Have you found a mistake? Does something not work as claimed? Feel free to contribute by opening an issue or forking and creating a pull request!
Copyright © 2024 JohnnyJayJay. Licensed under CC BY-SA 4.0.